
The GL-AR300M mini smart router fully supports the TorGuard OpenVPN Client service. When paired with a streaming media device and the OpenVPN client, the travel router will provide a secure connection to the internet and the ability to watch streaming media content on your hotel television, no matter where in the world you are.
The first step is to create and download the OpenVPN Client Configuration files. Login to your TorGuard account. Use the OpenVPN config generator to create the configuration files you require. I recommend that you do not use the TorGuard OpenVPN UDP configurations files or the OpenVPN TCP configuration files. These configuration files have been configured to use the AES-128-CBC cipher and the SHA256 Hash Algorithm. AES-128-GCM will provide better performance than AES-128-CBC. Likewise, unless you need to encrypt your traffic from three letter agencies, such as the FBI, CIA and NSA, SHA1 will result in better performance than SHA256. Alternatively, you can download the TorGuard OpenVPN UDP configurations files, unzip to a directory, and edit them one by one, updating the cipher to AES-128-GCM and the hash algorithm to SHA1.
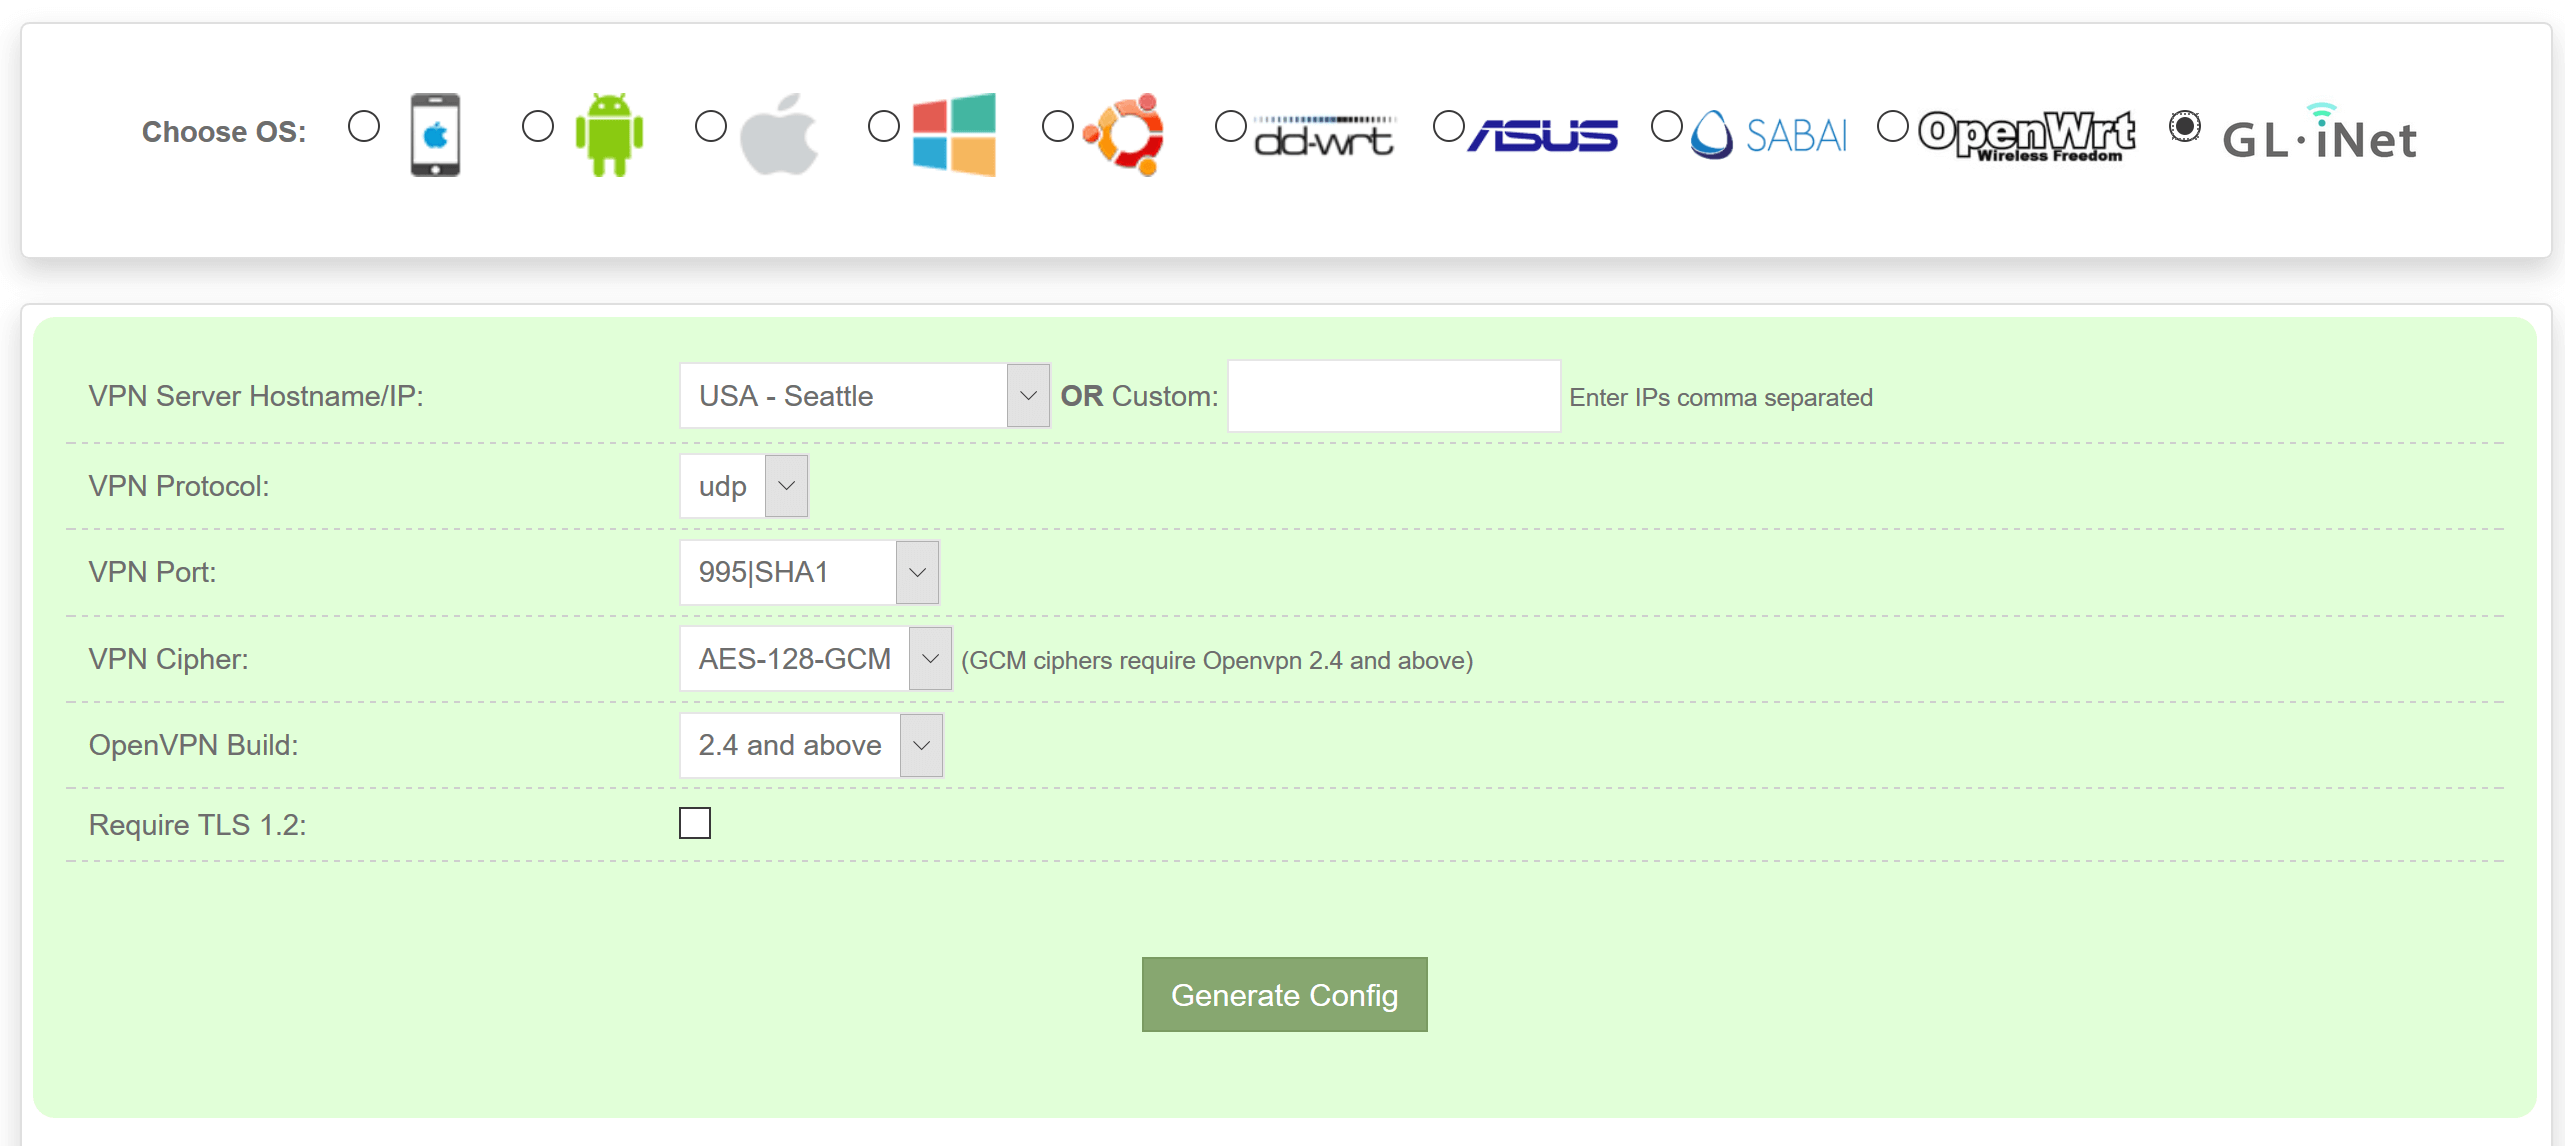
When you load the OpenVPN config generator web page, the OS option at the top of the page will default to iOS. Change the OS selection to GL-iNet. Select the VPN Server, VPN Port and VPN Cipher. Leave other fields at their default values. Select Generate Config to create the ovpn configuration file. Save the file to your computer. Rename the file to a descriptive name e.g. USA-Seattle.
Logon to the mini router by typing 192.168.8.1 in the web browser. Enter the password when prompted.

Select the OpenVPN tab from the top menu.

Select and drag the configuration file or files you generated into the GLI router OpenPVN tab. Supported OpenVPN file formats are .opvn, .zip or .tar.gz files. Once you have uploaded a configuration file, you will need to select the Upload New button in order for the Upload ovpn box to appear.

Enter your TorGuard Username and Password when prompted. Select Submit when done.

Verify the Enable and button is checked. To prevent clients from using the WAN interface if the OpenVPN connection drops, check the Force VPN box. Select the Config File from the drop down list and select the Apply button. You will see a short connection process. A status will appear when the connection process has completed. You can verify your IP address by connecting to the router via Wi-Fi or LAN cable and visiting https://torguard.net/whats-my-ip.php.